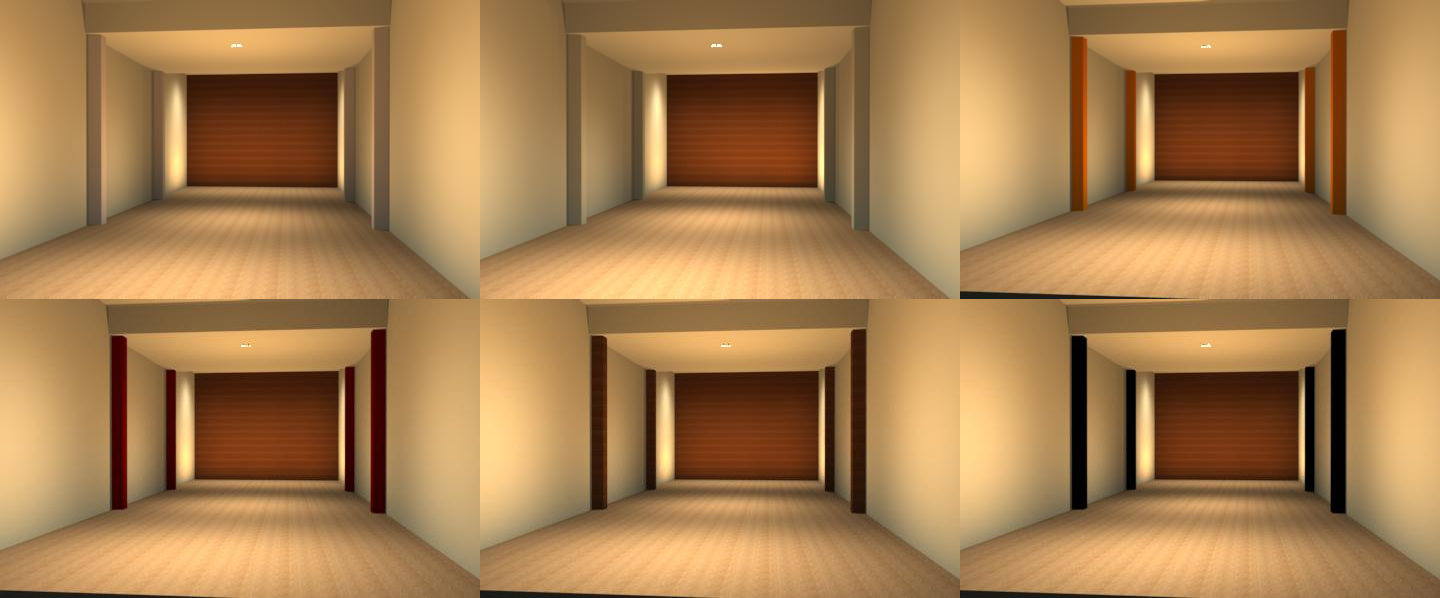
Modeling your new house and/or rooms in SketchUp is only step 1 of getting a good impressions of what they will look like. This blog posts explains part 2: Adding lights and textures to get a good impression of what the space will look like when the lights are turned on. You’ll need 3D rendering software to accomplish this.
It’s been a while since I mentioned IRender’s SketchUp plugin. In the meantime they have released a few new versions. The most important improvements are the fact that lights no longer have that large and annoying cone when displayed in SketchUp. You’ll know what I mean if you ever tried it out in the past. I think it’s much better now. Also the rendering seems to have improved. This is probably because they improved shadows and changed the default view angle for spotlights. It’s certainly worth another look, if you were not convinced in the past.
I will have to update my gallery in the near feature to reflect those new changes.
If you want other free options, but once you’re used to SketchUp they might feel clumsy, there’s Blender and trueSpace. However, if you want to model more organic forms, they might be a better fit (but beware the somewhat steeper learning curve)
